1. Introduction to Drip Tape Irrigation
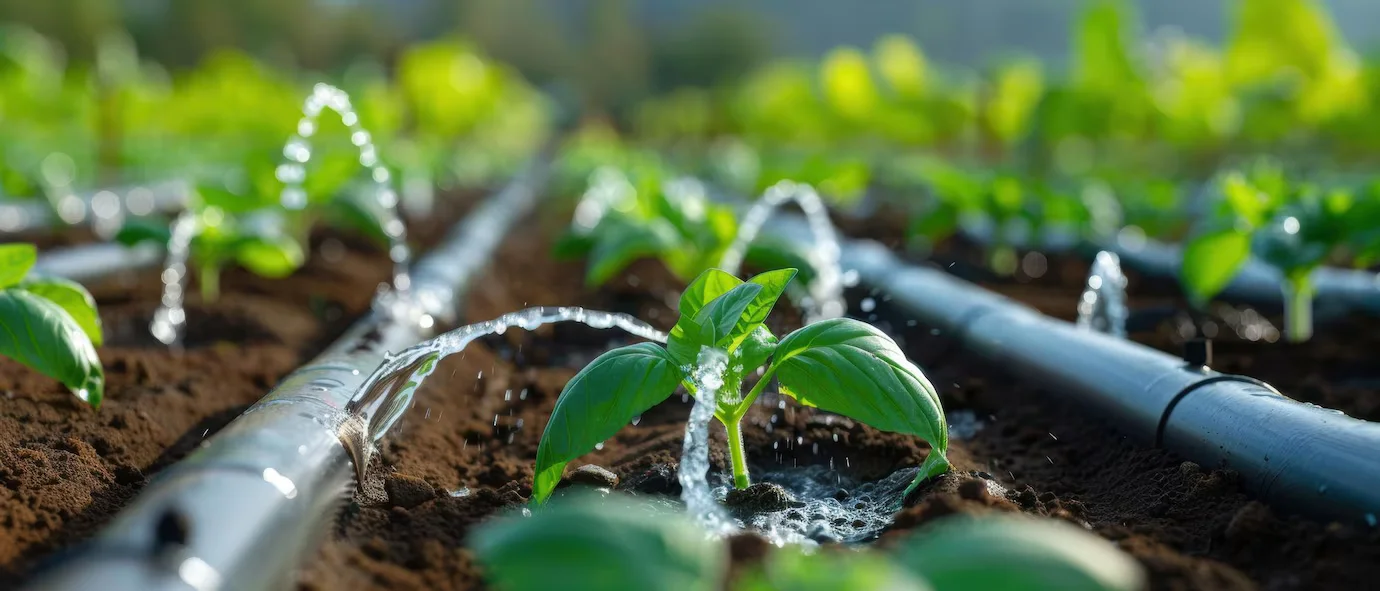
Drip tape irrigation is a method of delivering water directly to the roots of plants through a network of thin, flexible polyethylene tubes. These tubes are designed with evenly spaced emitters that release water in a controlled manner. This form of micro-irrigation is especially suited for row crops, vegetables, and other high-value crops.
Unlike traditional flood or sprinkler irrigation, drip tape conserves water, minimizes runoff, and reduces weed growth by targeting only the plant zone. Its simplicity and efficiency have made it a key solution for farmers aiming to adopt sustainable agricultural practices.
2. Why Sustainable Agriculture Needs Drip Irrigation
With global water scarcity and unpredictable climate patterns on the rise, sustainable agriculture must prioritize smart water management. Drip tape systems offer precise control over water application, reducing wastage and optimizing crop yields.
Here are key benefits aligned with sustainability:
- Water Conservation: Up to 60% water savings compared to flood irrigation.
- Energy Efficiency: Requires lower pressure and less energy to operate.
- Reduced Soil Erosion: Gentle water delivery avoids runoff.
- Better Plant Health: Less foliar diseases as water goes directly to the root zone.
- Lower Chemical Use: Compatible with fertigation—targeted nutrient delivery.
3. How Drip Tape Works
Drip tape is made from flattened polyethylene tubing, which inflates when pressurized water flows through it. Tiny holes or emitters are pre-punched or formed at regular intervals along its length. These emitters are engineered to release water slowly and evenly, even under low pressure.
When installed correctly, water reaches the crop roots with minimal evaporation or leaching. Systems are often run for a specific time daily or on a moisture-sensor schedule, depending on the crop's needs and environmental conditions.
4. Components of a Drip Tape Irrigation System
A complete drip tape irrigation setup includes several essential components that work together to deliver water efficiently. Here's a breakdown:
- Drip Tape: The main tubing with emitters spaced at regular intervals (typically 10 to 20 cm apart).
- Mainline Pipe: Larger pipe that supplies water to lateral lines of drip tape.
- Fittings and Connectors: Used to connect different sections, including elbows, tees, and couplers.
- Filter: Removes debris and sand from water to prevent clogging of emitters.
- Pressure Regulator: Maintains ideal pressure (usually 8–15 psi) for optimal performance of drip tape.
- Valve: Controls flow in different zones or sections of the field.
- End Caps or Plugs: Seal the ends of drip tape lines.
- Fertilizer Injector: Optional for fertigation, allowing nutrients to be fed directly into the irrigation system.
5. Types of Drip Tape
Not all drip tapes are the same. Different tapes are suited for specific crops, soil types, and terrain. Below are common types:
- Wall Thickness: Ranges from 6 mil (thin, short-term) to 15 mil (thick, reusable for multiple seasons).
- Emitter Spacing: Common spacings include 10 cm, 20 cm, 30 cm, depending on crop density.
- Flow Rate: Usually ranges from 0.5 to 1.5 liters per hour per emitter. Select based on crop water requirements.
- Flat vs. Round Tape: Flat tape inflates under pressure, while round tape is pre-formed. Flat tape is more popular for row crops.
- Seamless vs. Welded Emitters: Seamless emitters are built into the tape, reducing clogging and pressure loss.
Selecting the right tape is crucial. For example, sandy soils require closer emitter spacing, while clay soils can tolerate wider spacing.
6. Planning a Drip Tape Layout
Effective layout planning ensures uniform water distribution and system longevity. Consider these steps:
Step 1: Field Mapping
Draw a map of your field including row spacing, crop type, slope, and water source location. Use software or manual sketching to plan lateral lines and mainline positions.
Step 2: Flow Requirement Calculation
Determine the total water requirement based on:
- Crop water needs (liters per plant per day)
- Emitter flow rate
- Number of emitters per line and total lines
This will help in selecting pump capacity and mainline pipe diameter.
Step 3: Zoning
Divide the field into irrigation zones if your pump cannot supply water to the whole area at once. Each zone is watered separately through valves and timers.
Step 4: Slope Consideration
Install mainlines along contours when possible. If drip tape runs downhill, use pressure-compensating emitters to avoid uneven distribution.
Step 5: Tape Placement
Install the drip tape 2–5 cm below the soil surface or lay it on the surface depending on crop type and management practices. Subsurface placement reduces evaporation.
7. Step-by-Step Installation Guide
Installing a drip tape irrigation system can be done with basic tools and moderate effort. Follow this guide for proper setup:
Step 1: Prepare the Field
- Level the field as much as possible to ensure uniform water distribution.
- Remove sharp objects that may damage the tape.
Step 2: Lay Out the Mainline and Submain
- Position mainline pipes (usually PVC or HDPE) along one side of the field.
- Connect submain lines perpendicular to the crop rows where drip tape will be attached.
Step 3: Install the Filter and Pressure Regulator
- Connect a screen or disc filter just after the water source.
- Install a pressure regulator to maintain optimal water pressure (typically 10 psi).
Step 4: Connect the Drip Tape
- Attach the drip tape to the submain using grommets and barbed fittings.
- Roll out the tape along each crop row, ensuring emitters face upward (if directional).
Step 5: Secure and Plug the Ends
- Fold the ends of the drip tape and secure with end caps or twist ties.
- Anchor the tape to prevent shifting, especially on windy days.
Step 6: Test the System
- Turn on water and inspect for leaks or blockages.
- Check pressure at various points to ensure uniform flow.
8. Water Source and Filtration
Clean water is critical to avoid clogging the emitters. Here’s how to manage your source effectively:
Types of Water Sources
- Borewell or Tube Well: Common in farms, usually reliable.
- Surface Water: Rivers, ponds, or tanks may contain organic material.
- Rainwater Harvesting: Sustainable option, especially in drought-prone regions.
Filtration Options
- Screen Filter: Effective for large debris; easy to clean.
- Disc Filter: Offers higher filtration and better for silty water.
- Sand Filter: Used for heavy sediment loads; requires backwashing.
Install the filter at the mainline before the pressure regulator. Clean filters regularly, ideally once every few days or after each irrigation cycle if water is turbid.
9. Fertigation with Drip Tape
One of the biggest advantages of drip tape systems is their compatibility with fertigation—the process of applying fertilizers through the irrigation system. This allows for precise nutrient delivery, improves plant uptake, and reduces waste.
How Fertigation Works
A venturi injector or a fertilizer pump is connected at the head of the drip system. This device draws liquid or water-soluble fertilizer from a tank and mixes it with the irrigation water.
Best Practices for Fertigation
- Use Water-Soluble Fertilizers: To prevent clogging and ensure uniform application.
- Inject During Mid-Cycle: Avoid sending nutrients at the start or end of the cycle to ensure full delivery.
- Flush System After Fertigation: Always run clean water through the system for 10–15 minutes after fertigation to avoid salt buildup.
- Calibrate Injector: Calculate the required dosage based on flow rate and fertilizer concentration.
Common fertigation nutrients include nitrogen (urea, calcium nitrate), potassium (potassium sulfate), and phosphorus (monoammonium phosphate). Micronutrients can also be included depending on crop stage.
10. Maintenance and Troubleshooting
Proper maintenance ensures your drip tape system functions efficiently for the entire growing season—and often beyond. Ignoring small issues can lead to blockages, uneven watering, or wasted resources.
Routine Maintenance Tasks
- Flushing: Flush the entire system weekly to remove sediment and debris. Begin with the mainline, then the lateral drip tapes.
- Filter Cleaning: Clean filters every 3–5 days or after heavy use.
- Check for Leaks: Inspect fittings, tape joints, and valves for signs of leaks or pressure drops.
- Pressure Monitoring: Install a pressure gauge to verify correct pressure is maintained throughout the system.
- End-of-Season Care: Roll up and store the drip tape if it's reusable. Clean all components thoroughly and store in a shaded area.
Troubleshooting Common Issues
- Uneven Water Flow: May indicate emitter clogging. Flush or replace affected tape sections.
- Water Pressure Too Low: Check the pressure regulator and pump performance.
- Emitters Not Discharging: Could be due to dirt or root intrusion. Use chemical flush if needed.
- Pipe Bursts: Usually due to high pressure—ensure regulator is working properly.
11. Cost Analysis and ROI
Investing in a drip tape irrigation system might seem expensive initially, but the long-term savings and yield improvements justify the cost. Here's a general breakdown:
Estimated Cost (Per Acre)
| Component | Approx. Cost (INR) |
|---|---|
| Drip Tape | ₹5,000 – ₹7,000 |
| Filters and Regulators | ₹2,000 – ₹4,000 |
| Mainline and Fittings | ₹3,000 – ₹5,000 |
| Labor and Installation | ₹2,000 – ₹3,000 |
| Total | ₹12,000 – ₹19,000 |
Return on Investment (ROI)
Drip systems can increase yields by 20–50% while saving 40–60% water. For high-value crops like tomato, capsicum, and banana, ROI is often achieved within 1–2 seasons.
- Reduced labor cost
- Lower fertilizer consumption (via fertigation)
- Fewer plant diseases
- Higher produce quality and yield
12. Common Mistakes to Avoid
New users of drip tape often face challenges due to installation or usage errors. Here are mistakes to watch out for:
- Skipping Filtration: Even clean water contains microscopic particles that can clog emitters.
- Over-Pressurizing: Excess pressure can cause tape to burst or leak. Always use a regulator.
- Incorrect Tape Placement: Emitters should face up if directional. Tape should be buried shallowly if possible to prevent sunlight degradation.
- Ignoring Water Quality: High salinity or mineral content can damage plants or clog emitters.
- Not Flushing the System: Flushing removes sediment and prolongs system life.
Avoiding these pitfalls can save time, reduce crop loss, and improve irrigation efficiency across the season.
13. Case Studies from Real Farms
To understand the true impact of drip tape irrigation, let’s look at a few real-life implementations across different regions:
Case Study 1: Tomato Farm in Maharashtra, India
- Farm Size: 2 acres
- Previous Method: Flood irrigation
- Drip Tape Installed: 12 mil, 20 cm spacing, 1 L/hr emitters
- Results: Yield increased by 40%, water use dropped by 55%, ROI achieved within 1 year.
Case Study 2: Strawberry Farm in California, USA
- Farm Size: 1.5 acres
- Drip Configuration: Subsurface tape, 10 cm spacing, weekly fertigation
- Outcome: 30% improvement in fruit quality, disease incidence dropped significantly.
Case Study 3: Onion Farm in Gujarat, India
- Drip Tape Specs: 8 mil tape, 20 cm emitter spacing
- Benefits: Harvest uniformity improved, labor costs reduced, and salt accumulation around the root zone was minimized.
These examples show the versatility and measurable advantages of adopting drip tape irrigation in real agricultural environments.
14. Environmental Impact
Drip tape irrigation is not just a water-saving tool—it contributes meaningfully to environmental sustainability.
Water Conservation
Compared to traditional methods, drip tape can cut water usage by half, minimizing groundwater depletion and reservoir drawdown.
Reduced Greenhouse Gas Emissions
- Less pumping means lower energy consumption.
- Fewer tractor runs for irrigation reduce CO₂ output.
Soil Health Improvement
- Minimized runoff prevents topsoil erosion.
- Precise watering avoids nutrient leaching.
Lower Chemical Footprint
Fertigation targets root zones precisely, reducing fertilizer runoff into nearby water bodies and minimizing pollution.
In short, implementing drip tape on a wide scale can help address major global agricultural challenges related to water, soil, and climate.
15. FAQs on Drip Tape Systems
Q1: How long does drip tape last?
Depends on the thickness and quality. Thin tapes (6–8 mil) are single-season, while thicker ones (12–15 mil) can last 3–4 seasons with good maintenance.
Q2: Can drip tape be reused?
Yes, especially the thicker tapes. Roll it up carefully after harvest, flush it clean, and store in a cool, shaded place.
Q3: Is drip tape better than drip tubing?
For row crops and vegetables, yes. Tape is more economical and easier to install. Tubing is preferred for orchards or permanent crops.
Q4: Does drip irrigation cause salt buildup?
If poorly managed, yes. But flushing the system and occasional overhead irrigation can prevent this problem.
Q5: What’s the ideal pressure for a drip tape system?
Typically between 8 and 15 psi. Always check your tape specs and install a pressure regulator.
16. Conclusion
Drip tape irrigation stands out as a transformative solution for sustainable agriculture—especially in regions facing water scarcity, erratic weather, and increasing input costs. Its simplicity, affordability, and adaptability make it an ideal system for both smallholder farmers and large-scale operations.
By delivering water and nutrients directly to the plant root zone, drip tape minimizes waste, enhances crop performance, and promotes soil and environmental health. Whether you are growing vegetables, fruits, or even high-value cash crops, this technology offers an efficient, cost-effective irrigation method that supports long-term productivity.
To get the most out of your system:
- Plan your layout based on terrain and crop needs
- Invest in quality components and filtration
- Regularly maintain and flush the system
- Embrace fertigation for smart nutrient management
With thoughtful implementation and care, a drip tape system can help you conserve resources, increase yield, and farm in harmony with nature.
Want to See It in Action?
Final Tips
- Consult with local agricultural extension services or suppliers to find the best tape specs for your region and crop type.
- Apply for government subsidies—many regions offer support for micro-irrigation projects.
- Consider using automation and sensors to optimize irrigation schedules and reduce manual work.
Drip tape irrigation isn't just about saving water—it's about farming smarter, sustainably, and successfully.
Start small, grow smart, and let every drop count.

0 Comments
No approved comments yet. New submissions appear after moderation.